Sunday, August 29, 2010

Thursday, August 26, 2010

JM's Built-in TV Cabinet (updated)


Here is the before pic of what was previously used as the master bedroom, complete with mirrored closet doors:


Now, it will be our den. JM decided to add a project "just for him": a built-in for the TV in the the closet space. Our crafty contractor moved over the middle beam, made a smaller closet, and is adding built-in shelving for the TV, XBox, etc. On the left is the hole for the built-ins (which you can see on the floor in the second pic) and the right hole is the remaining closet that will have shelving for JM's massive DVD collection:

Shelving installed:

and now with drawers:


Kitchen: Stage One!

Before:


And after new tile (before grout) and the lower set of cabinets removed!


Next up: staining the countertops and replacing this poo sink:


Sunday, August 22, 2010

Shout Out...

... to my little bro, who just started med school at UTMB. Congrats, Adam!


...and to our niece, Norah, who just turned 3!


Sheetrock!

On Friday afternoon, we caught the sheetrock guys in the finishing stages. Here is JM in the new hallway:

New master bedroom wall (the closet door wasn't cut yet - it's not a freaky mini door):

JM in the new master closet:

Everything is all prepped for paint:


Wednesday, August 18, 2010

Day One: New Master Shower


After taking one look at our master shower, our contractor winced and gently suggested that new tile in the shower would make it a much nicer bathroom. I guess I never paid much attention before that day, but he is right. It is fug. And the shower door is just waiting to cut us.

Here is the shower before:


...and after day one:


This one is looking at the ceiling, which was taken out to install a vent.


We are going to do either carrara or white porcelain subway tiles on the shower walls with black and white hexagonal tiles on the floor. And a light, barely there mint green paint (at left) on the bathroom walls:


So much progress in one day! Very exciting.


Day One Continued: C's New Master Bedroom & Closet


First, a brief history. Last week, when JM and I visited the house to check out our landscaper's first swipe at the mad, out of control vegetation (which I will discuss in a separate post), we met our new next-door neighbors. They informed us that the owner that added on to the original structure of our house was a set designer for the Alley Theater. This new info helped explain the two most confusing elements of our new home: (1) the mysterious front windows and (2) the HUGE "den" with at least 15 outlets (in the floor and on the walls).


(1) The windows on the far right side of the house are fake. On the other side of those are the two bathrooms, neither of which has a window. There are even little fake blinds in there. Weird, right?


(2) The huge den must have served as a studio:


But we have no use for a studio, so we are converting this space into a master bedroom with a walk-in closet. Also tearing out the 90210-era track lighting and the faux skylight. Surprisingly, that thing is uglier in person. I'm not buying that a skylight would be placed sideways in the middle of a ceiling anyway...


So, after day one, here is a view of the new master, looking out from that back wall pictured above:


The left door leads into the new closet and the one on the right leads from the bedroom out into the hallway. The previous picture was taken while standing in that grey door in the left of the picture immediately above.


PS, we are thinking either the blue on the far left or the one in the middle. But who knows what those colors really look like - this room was completely dark and lit only by my camera's flash. All of the grey trim will be painted white. My color inspiration is, randomly, Julianne Moore's living room:


Bye bye, track lighting:


Tuesday, August 17, 2010

Day One of C's Remodel: Dining Room Built-ins


Here is our dining room at closing:


...and here is what it looks like after day one of the remodel:


We had the doors to a hall closet behind the dining room framed into a wall, and cabinets will go in this new space. Those pendant lights are also getting the boot.


More to come from Day One!


Friday, August 6, 2010

before DURING and after

Since there's not an "After" of L's kitchen island yet, here's some "during" shots:

First, looking into kitchen, ceiling removed:

Second, looking back, the pantry is removed:

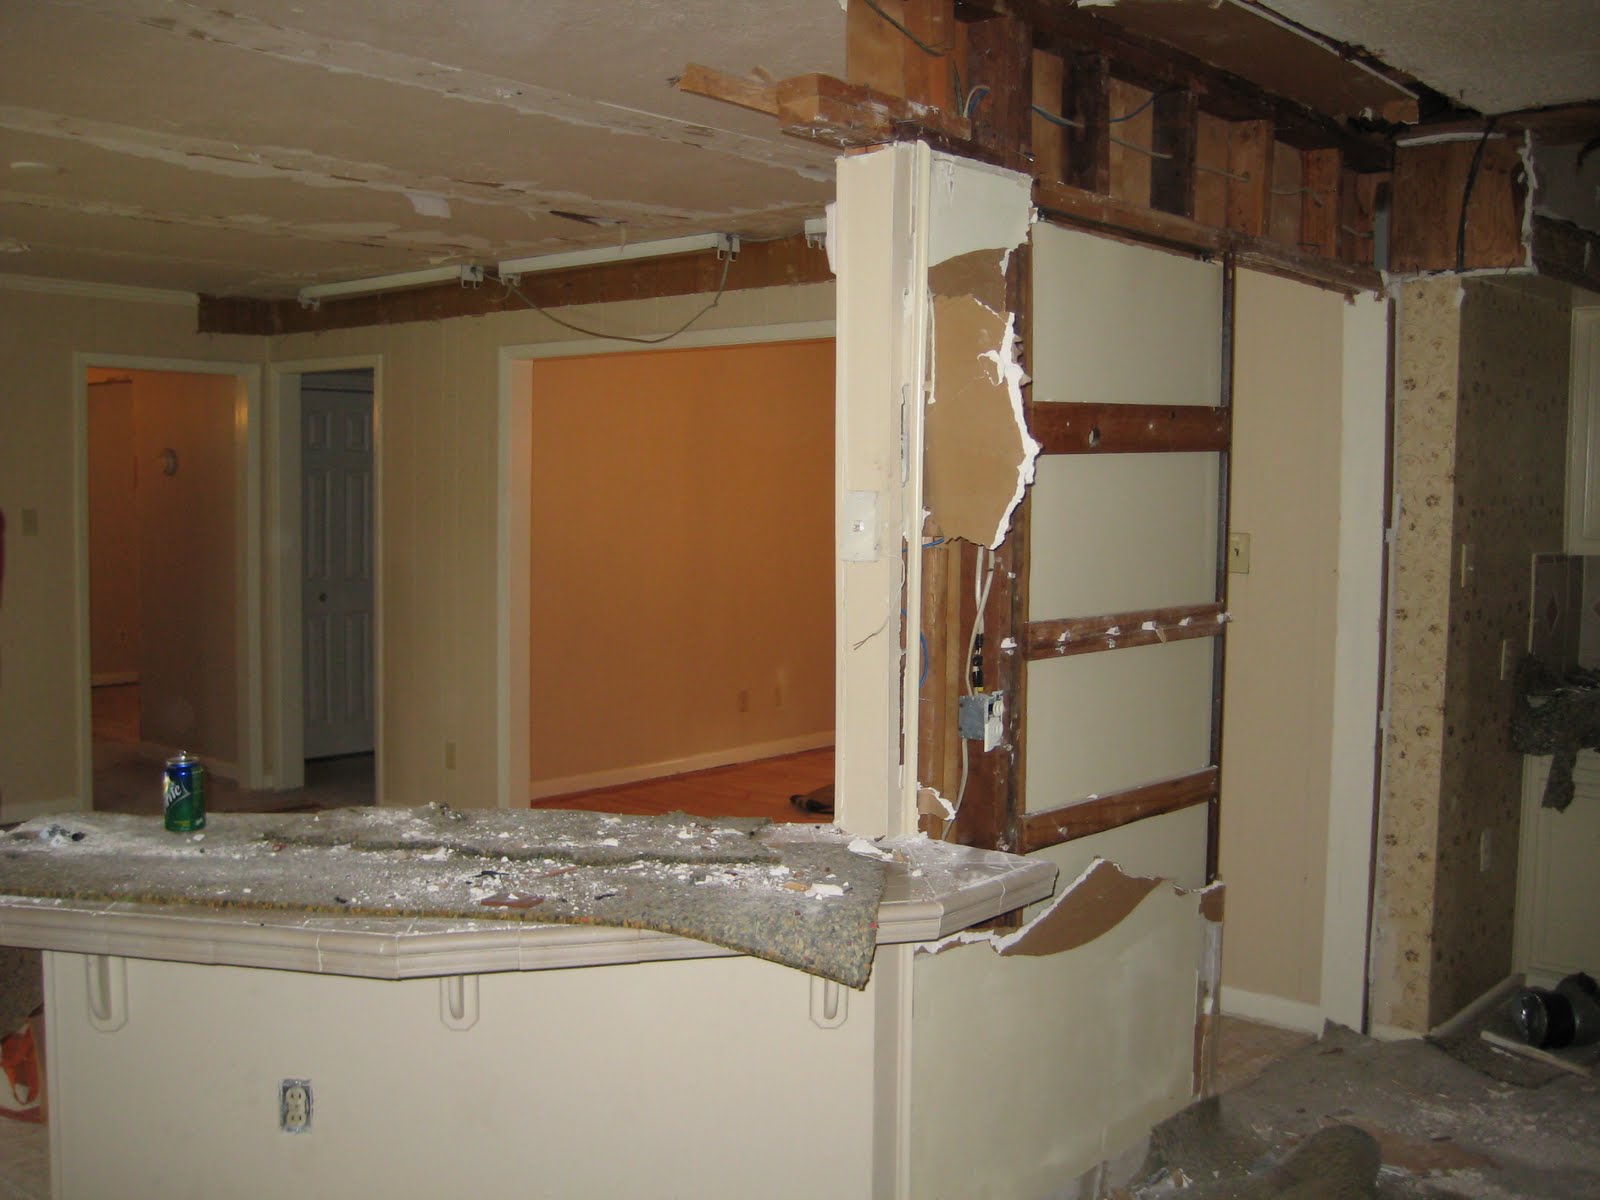
Third, in just a few days, no ceiling, no door frame, and no pantry!


...then add some paint to everything!

more to come...

Wednesday, August 4, 2010

Deserted Island

For the island makeover, T wanted to reflect the original boomerang shape of the pantry + island, and utilize some of the original tile.

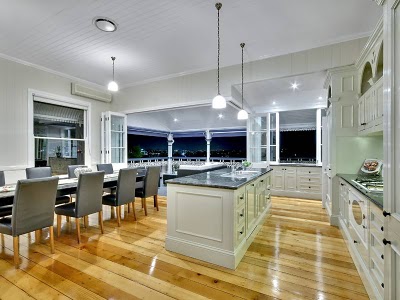
I wanted to create a large and rectangular area in granite, completely unmatched from the kitchen behind it. (obvis)

These were the inspiration shots I had saved for months.

Guess we'll see who won when construction ends


Before and After: the kitchen island

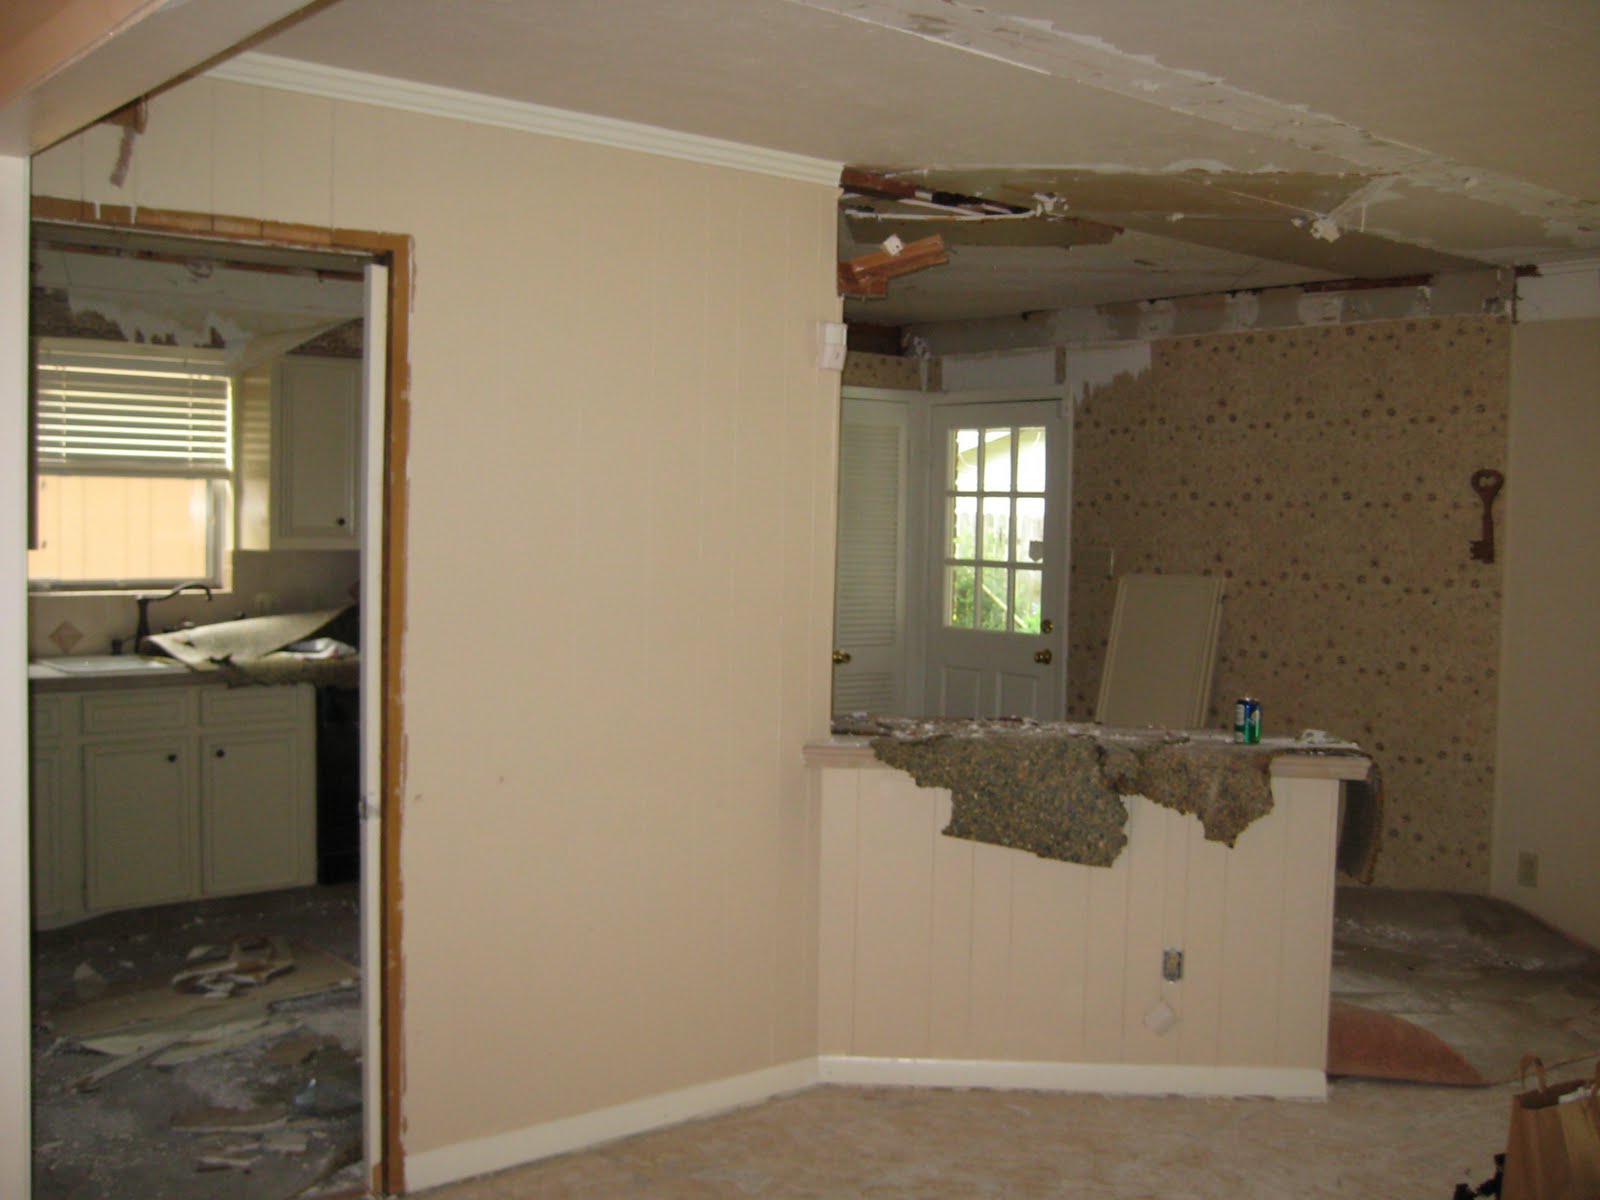
So the house L purchased had a very divided kitchen and a living room - separated by a large wall and pantry.

The ceiling in the living room was about a foot higher than the ceiling in the kitchen, and wallpaper seemed to lower these low ceilings even further.


The plan was to take out the pantry in its entirety, remove the lighting, raise the roof :), and create a new functioning island that would allow for one giant living, eating, and dining space.


Here are the before shots:
1. Looking north with pantry to your right: lowered ceilings and encased lighting


2. Looking east to the living room: the pantry in the kitchen
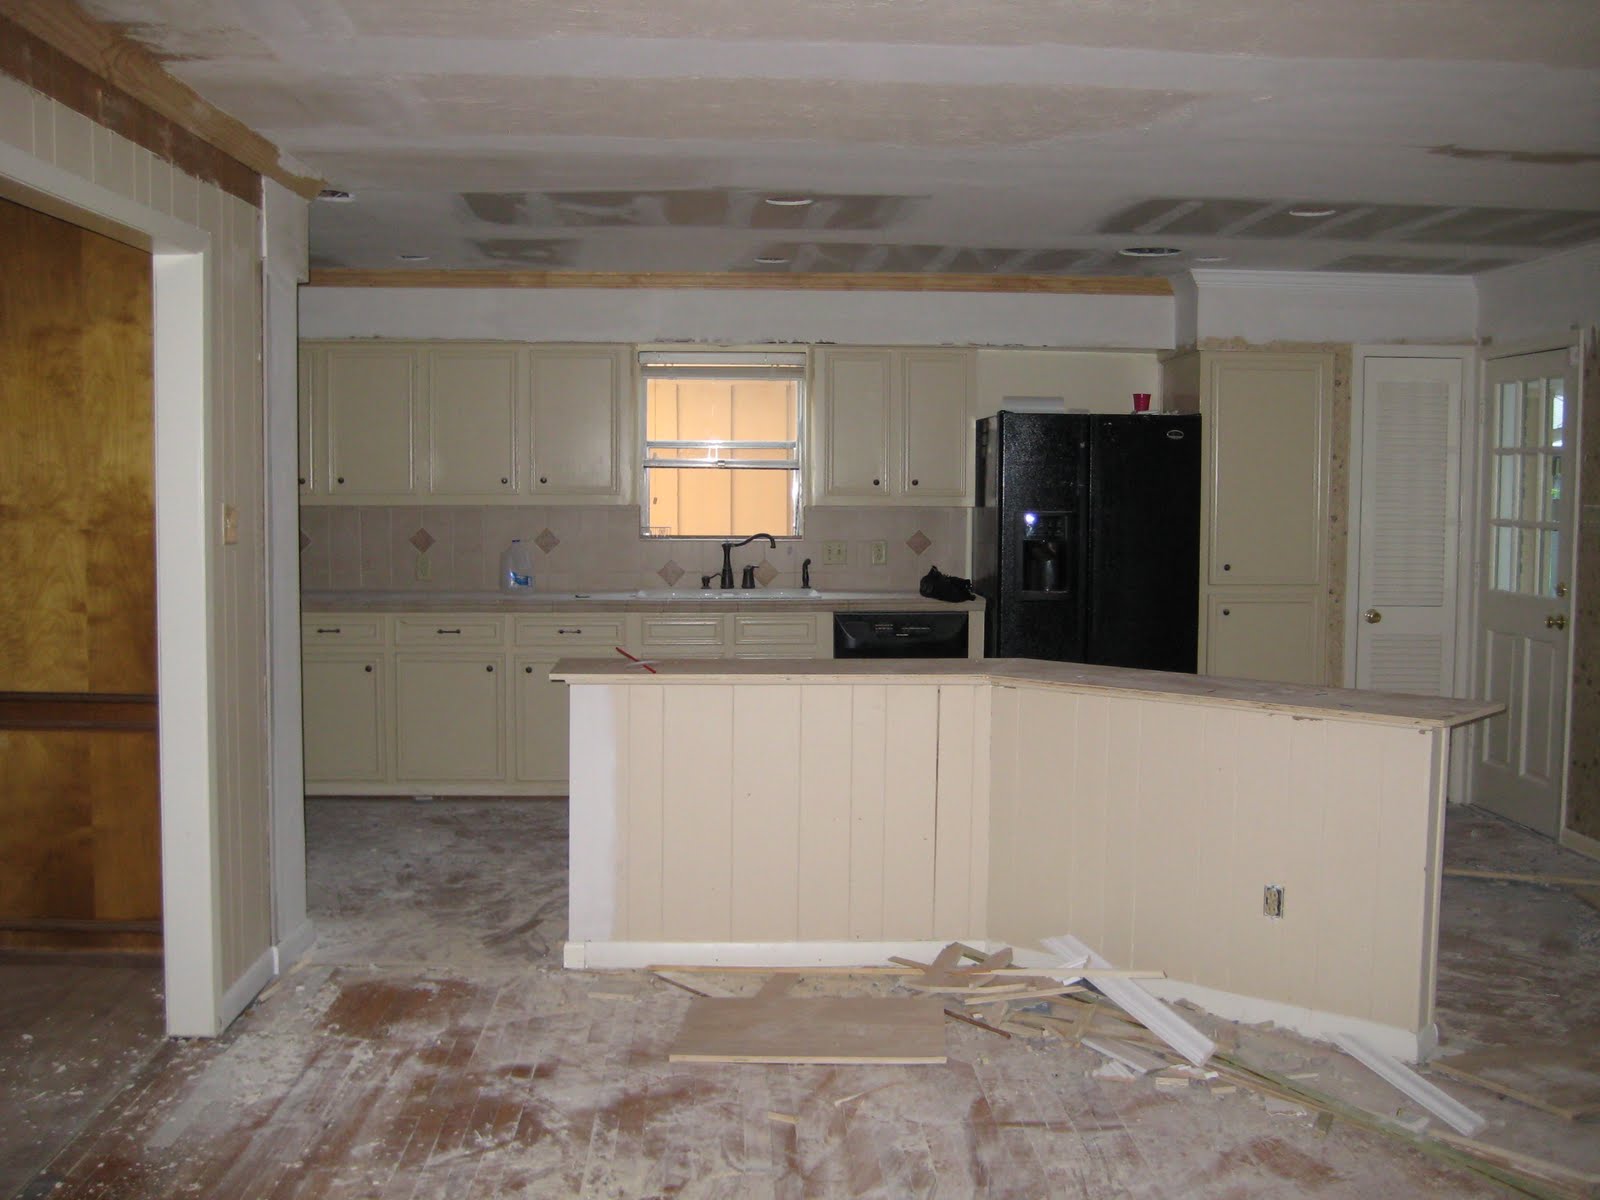


3. Looking west to the kitchen: the wall in the living room